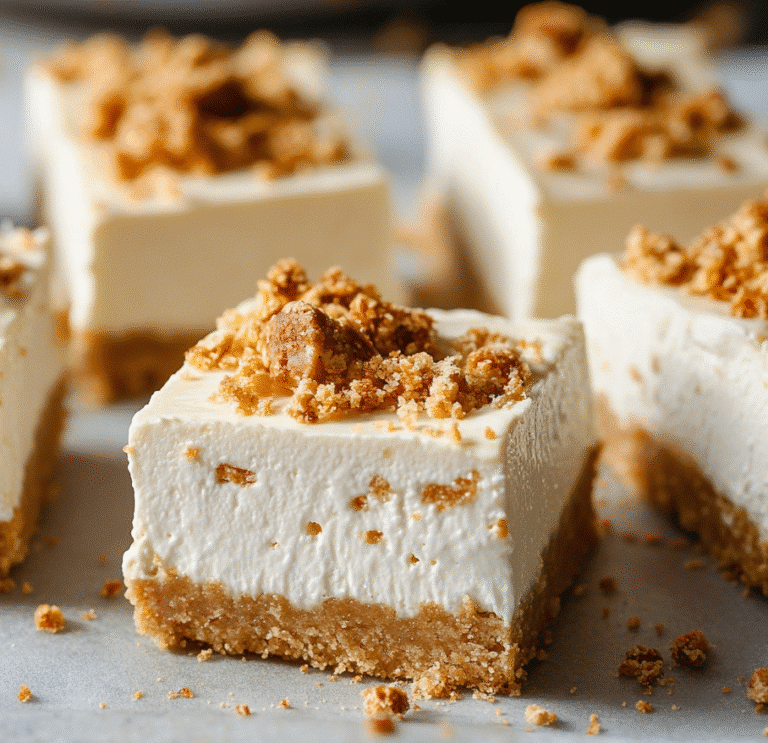
If you’re craving something sweet, creamy, and totally stress-free, no‑bake cheesecake bars are just the thing. This chilled dessert brings all the richness of traditional cheesecake—without the oven. Inspired by my grandmother’s fridge-set classics, these bars are easy to make, endlessly adaptable, and perfect for any occasion. In this recipe, you’ll learn how to craft a buttery crust, whip up a silky filling, and personalize it with flavors you love. Whether you’re hosting, meal-prepping, or just treating yourself, these no‑bake cheesecake bars promise satisfying results with every slice.
Print
No‑Bake Cheesecake Bars: Easy, Creamy & Oven-Free Recipe
Creamy, chilled no-bake cheesecake bars with a buttery graham cracker crust. Perfect for summer or any occasion.
- Total Time: 6 hours
- Yield: 9 bars 1x
Ingredients
1 ½ cups graham cracker crumbs
5 tbsp unsalted butter, melted
16 oz cream cheese, softened
½ cup granulated sugar
1 tsp vanilla extract
¾ cup whipped cream or whipped topping
Instructions
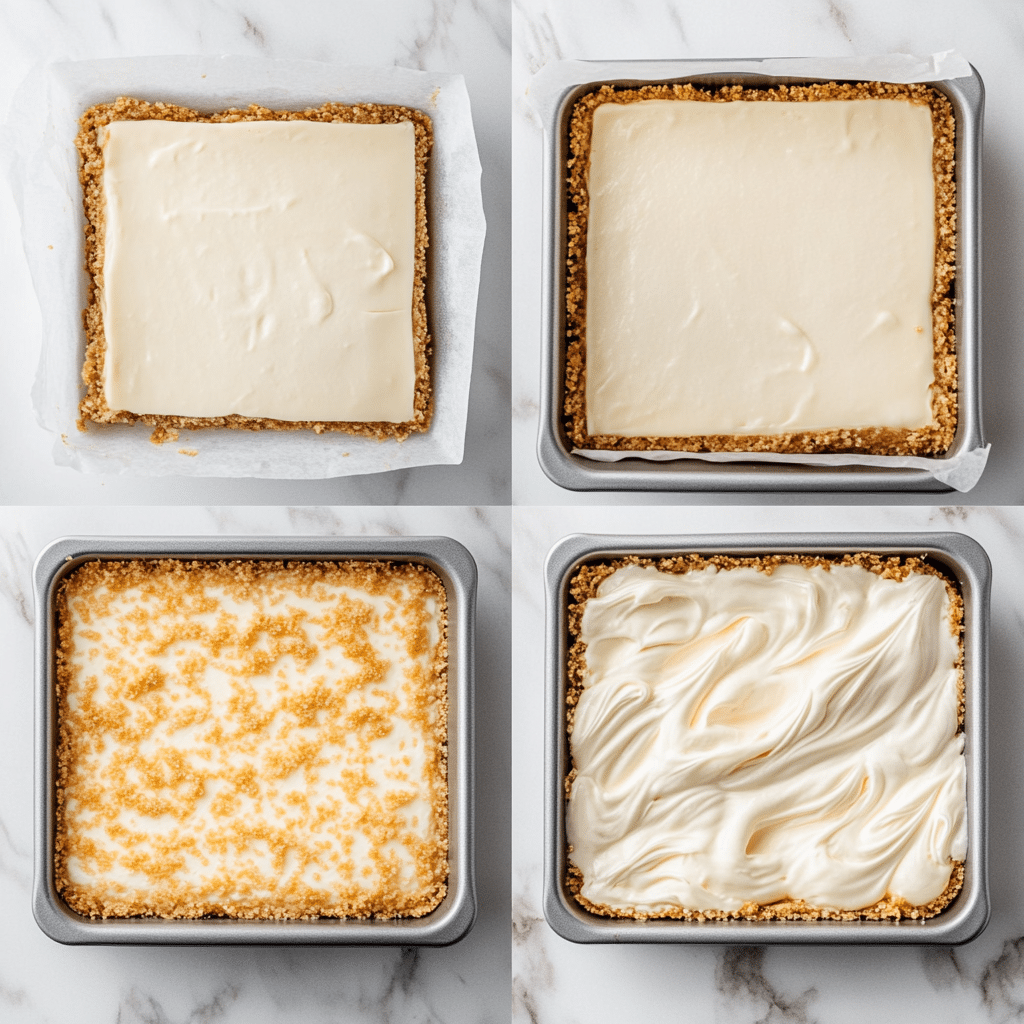
1. Press crust mixture into an 8×8” pan and chill 10 minutes.
2. Beat cream cheese, sugar, and vanilla until smooth.
3. Fold in whipped cream gently.
4. Pour filling over crust and smooth top.
5. Chill for 6 hours or overnight, then slice and serve.
Notes
Add lemon juice or zest for brightness.
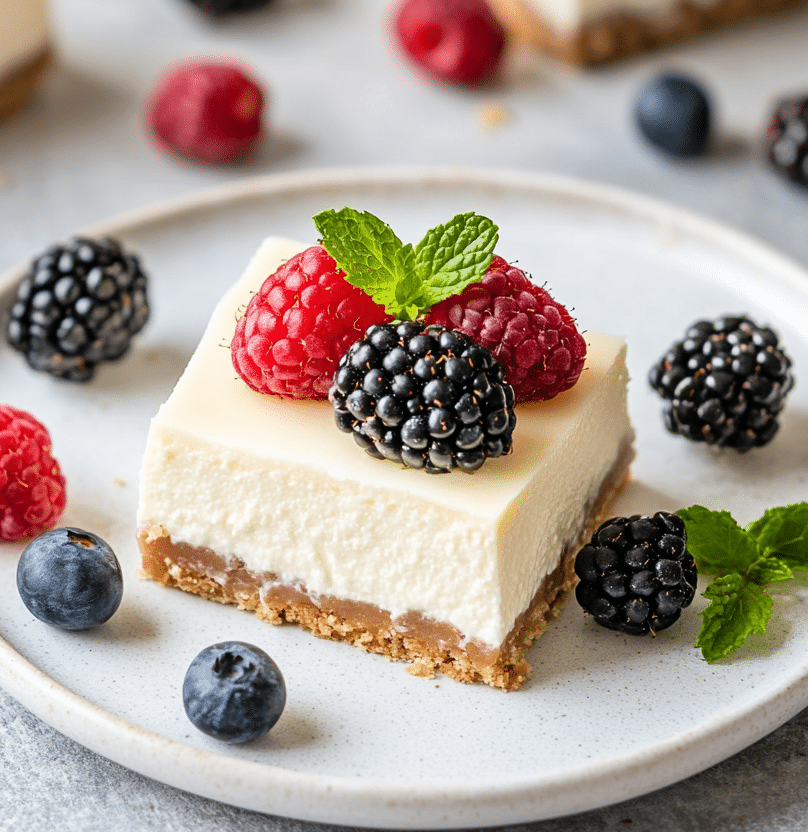
Top with berries or chocolate drizzle for variety.
- Prep Time: 10 mins
- Cook Time: 0 mins
- Category: Dessert
- Method: No-Bake
- Cuisine: American
- Diet: Vegetarian
Nutrition
- Serving Size: 1 bar
- Calories: 240
- Sugar: 14g
- Sodium: 120mg
- Fat: 18g
- Saturated Fat: 10g
- Unsaturated Fat: 6g
- Trans Fat: 0g
- Carbohydrates: 18g
- Fiber: 0g
- Protein: 3g
- Cholesterol: 45mg
Getting to Know No‑Bake Cheesecake Bars
A taste of nostalgia in every bite
When I think of No‑Bake Cheesecake Bars, I picture my grandmother’s kitchen—lemon-scented air, chilled treats waiting in the fridge. She’d layer a buttery graham cracker crust and a silky cream cheese filling, then tuck the pan away to firm up. That early memory still sparks joy whenever I whip up no‑bake cheesecake bars. It’s hands-on, heart-led cooking—just like in her home. And with the keyword no‑bake cheesecake bars highlighted, you’ll see how this dessert becomes a fridge-friendly classic.
Why no‑bake wins
No‑bake cheesecake bars skip the oven and avoid the dreaded water bath, making them perfect for hot Asheville summers or when you just don’t want to fuss. These bars only need a few staple ingredients—cream cheese, sugar, butter, crumbs—and minimal effort. It’s the kind of dessert that lets ingredients sing: tangy cream cheese, sweet vanilla, crisp crumb crust. If you’ve looked at my No-Bake Berry Cheesecake Bars, you know a simple base brings big flavor.
Meet your new favorite filling
This filling is whipped, airy, and easy. You’ll beat room-temperature cream cheese with sugar and vanilla (a touch of lemon juice is optional), then fold in heavy cream or whipped topping. It sets into a smooth, sliceable layer after chilling 6–12 hours. Want more texture? My guide to No-Bake Chocolate Cheesecake Bars shows how to swap flavors while keeping the process delightfully simple.
Crafting the Perfect Crust and Flavor Variations
Finding the ideal crust for your no‑bake cheesecake bars
The crust sets the tone for your no‑bake cheesecake bars, both in flavor and texture. It should be buttery, cohesive, and strong enough to support the creamy filling without falling apart. Graham cracker crumbs are the go-to classic—they deliver a lightly sweet, nutty base that presses into the pan effortlessly. To make a reliable crust, combine 1 ½ cups of graham cracker crumbs with 5 tablespoons of melted butter and a pinch of salt. Stir until the mixture resembles wet sand, then press it firmly into an 8×8″ baking dish. A quick 10-minute chill in the fridge locks it in place.
Want to change things up? Crushed digestive biscuits lend a heartier texture and deeper flavor, while Oreo cookie crumbs (with or without the filling) create a rich, dark chocolatey base. For extra decadence, add a teaspoon of cocoa powder to the mix. If you’re after a lighter, gluten-free alternative, almond flour or ground hazelnuts work beautifully—just use 1 ¼ cups of the flour and about 4 tablespoons of melted butter.
Flavor inspiration: from classic vanilla to bold cinnamon
No‑bake cheesecake bars thrive on versatility. The neutral base—cream cheese, sugar, and whipped cream—welcomes a wide range of flavors. You can enhance the profile with just a teaspoon of ground cinnamon and a pinch of nutmeg, adding warmth and depth. Fold in ¼ cup lemon juice or zest for brightness, or blend in pureed berries for fruity flair. Chocolate lovers can stir in 2 ounces of melted dark chocolate or swirl it on top before chilling. Matcha (1–2 tsp) brings a subtle, sophisticated flavor. Crushed peppermint, shredded coconut, or spiced nuts on top finish things off with style.
Making & Chilling Your No‑Bake Cheesecake Bars

Step‑by‑step assembly for flawless results
Making no‑bake cheesecake bars is as rewarding as it is relaxing. Start by preparing your crust. Once your crumb and butter mixture is pressed firmly into a lightly greased 8×8” pan, slide it into the fridge for about 10 minutes. That quick chill helps lock it in place, so it doesn’t shift when you spread the filling on top. Meanwhile, set your cream cheese out if it’s not already room temperature—this small step prevents lumps in your finished product.
In a large mixing bowl, beat 16 oz of softened cream cheese with ½ cup granulated sugar and 1 teaspoon vanilla extract until perfectly smooth. For a more vibrant twist, consider adding lemon juice or a touch of almond extract. Once your base is creamy and lump-free, gently fold in ¾ cup whipped cream or a non-dairy whipped topping. Don’t overmix—just until the mixture is light and spreadable.
Chilling hacks for clean slices
Now, pour the filling over the chilled crust and smooth it out evenly with a spatula. Cover the pan with plastic wrap and place it in the fridge for at least 6 hours, preferably overnight. Chilling allows the no‑bake cheesecake bars to firm up completely for clean, easy slicing.
For professional-looking slices, dip a sharp knife in hot water, wipe it dry, and slice. Wipe the blade between cuts for neat edges. If you’re short on time, freeze the bars for 2 hours before transferring them back to the fridge. This method sets the bars quickly without changing texture. Once set, top them however you like—or serve them plain and let the creamy texture shine.
Serving, Storage & Troubleshooting No‑Bake Cheesecake Bars

Serving ideas that delight
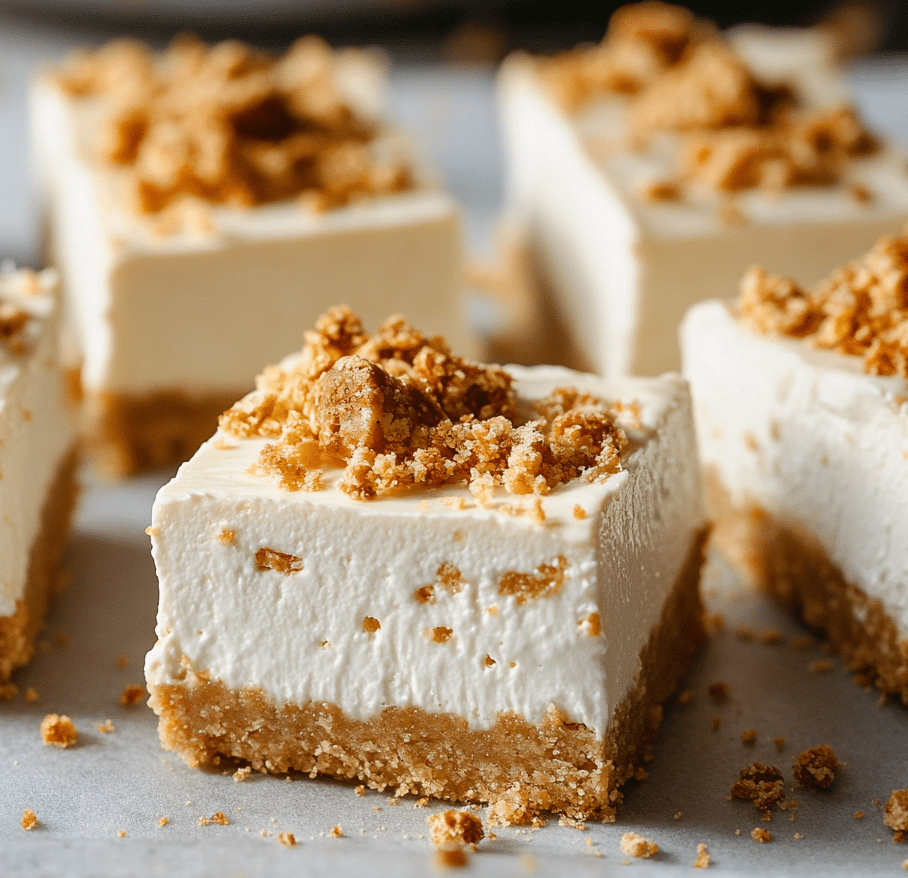
Once your no‑bake cheesecake bars have chilled to perfection, it’s time to serve them in style. These bars shine when cut into neat squares and presented with thoughtful toppings. A simple handful of fresh berries—like blueberries, raspberries, or sliced strawberries—adds color and a juicy bite. Want something richer? Drizzle a warm chocolate ganache or swirl in caramel sauce. A sprinkle of finely chopped toasted nuts or crushed cookies gives a crunchy contrast. If you’re aiming for something refreshing, try lemon zest or a few mint leaves to brighten each piece.
For holiday or themed events, try layering flavored whipped cream or adding seasonal toppings like candied pecans in fall or crushed candy canes in winter. Presentation makes these no‑bake cheesecake bars feel even more special without requiring much extra effort.
Storage tips for freshness
To keep your cheesecake bars tasting their best:
- Refrigerator: Store in an airtight container and keep chilled for up to 5 days. Place parchment between layers if stacking.
- Freezer: Wrap individual slices tightly in plastic wrap and place in a freezer-safe bag or container. Freeze for up to 2 months. Thaw overnight in the fridge before serving.
- Make-ahead: Prepare a full day before an event to allow for proper chilling and better slicing.
Troubleshooting fix‑its
Got runny filling? That usually means under-chilling. Extend fridge time or use the 2-hour freezer boost. For soggy crust, add an extra chill before filling, or blind bake it for 5 minutes if you prefer a firmer base. And if you’re worried about cracks—don’t be. That’s a baked cheesecake issue. These no‑bake cheesecake bars stay smooth and creamy every time.
for more recipes follow our facebook page
Conclusion
No‑bake cheesecake bars aren’t just a recipe—they’re a reminder that comfort and creativity can go hand in hand. They evoke nostalgia from the first bite: the cool creaminess of the filling, the buttery snap of the crust, and the joy of knowing you didn’t need an oven to create something so satisfying. Whether you stick with the classic graham cracker crust and vanilla-laced filling or branch out with bold flavors like lemon, matcha, or dark chocolate, each variation becomes a reflection of your taste.
This dessert proves that homemade doesn’t have to mean hard. You can prepare these no‑bake cheesecake bars ahead for gatherings, holidays, or quiet weekends, and they’ll always deliver. Their make-ahead ease, rich texture, and customizable style make them a go-to treat in any season. So whether you’re a seasoned home cook or just dipping your toe into the world of no‑bake desserts, these bars are a delicious way to connect, share, and celebrate simple pleasures—one chilled slice at a time.
FAQS
How do you make no‑bake cheesecake bars without gelatin?
Omit gelatin entirely—you rely on cream cheese and whipped cream to set. Ensure both are cold when folding and give sufficient chill time (6–12 hours) so the filling firms naturally.
Can no‑bake cheesecake bars be made ahead?
Absolutely! These bars are ideal for prepping a day in advance. Store chilled, and top just before serving for best texture and appearance.
How long do no‑bake cheesecake bars last in the fridge?
Stored in an airtight container, they stay fresh up to 5 days. Avoid leaving them at room temperature for more than 2 hours to maintain quality.
What are some easy variations for no‑bake cheesecake bars?
Mix flavors into the filling or crust. Try lemon-zest, cinnamon-nutmeg, chocolate swirl, matcha, or fruit purees. Crusts can switch from graham to Oreos or nut-based for dietary preferences.

